Sunday, February 14, 2016

Black and White Photography

A simple photograph can change drastically with different compositional strategies, and my students will learn how to use these strategies to their advantage in any art form.  Photography is different from painting or drawing in that the image is captured instead of created, this will allow the students to observe how different techniques can enhance or convey something about the image after the image has already been created.  They will complete a set of 5 photographs, each using a different genre.

These 5 photographs will be:

1. Portraiture - they must take a photograph of a single person, the face must be visible and the student will try to convey a specific emotion.  This can be through the person's facial expression or through the surroundings and lighting.


Irving Penn


Dorothea Lange

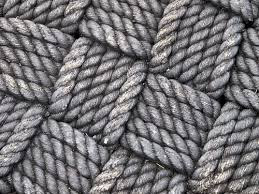
2. Texture - the students must find a single texture or multiple textures in one image and use contrast and lighting techniques to enhance the subject.
     
Lucy Shires


    Adrienne Adams

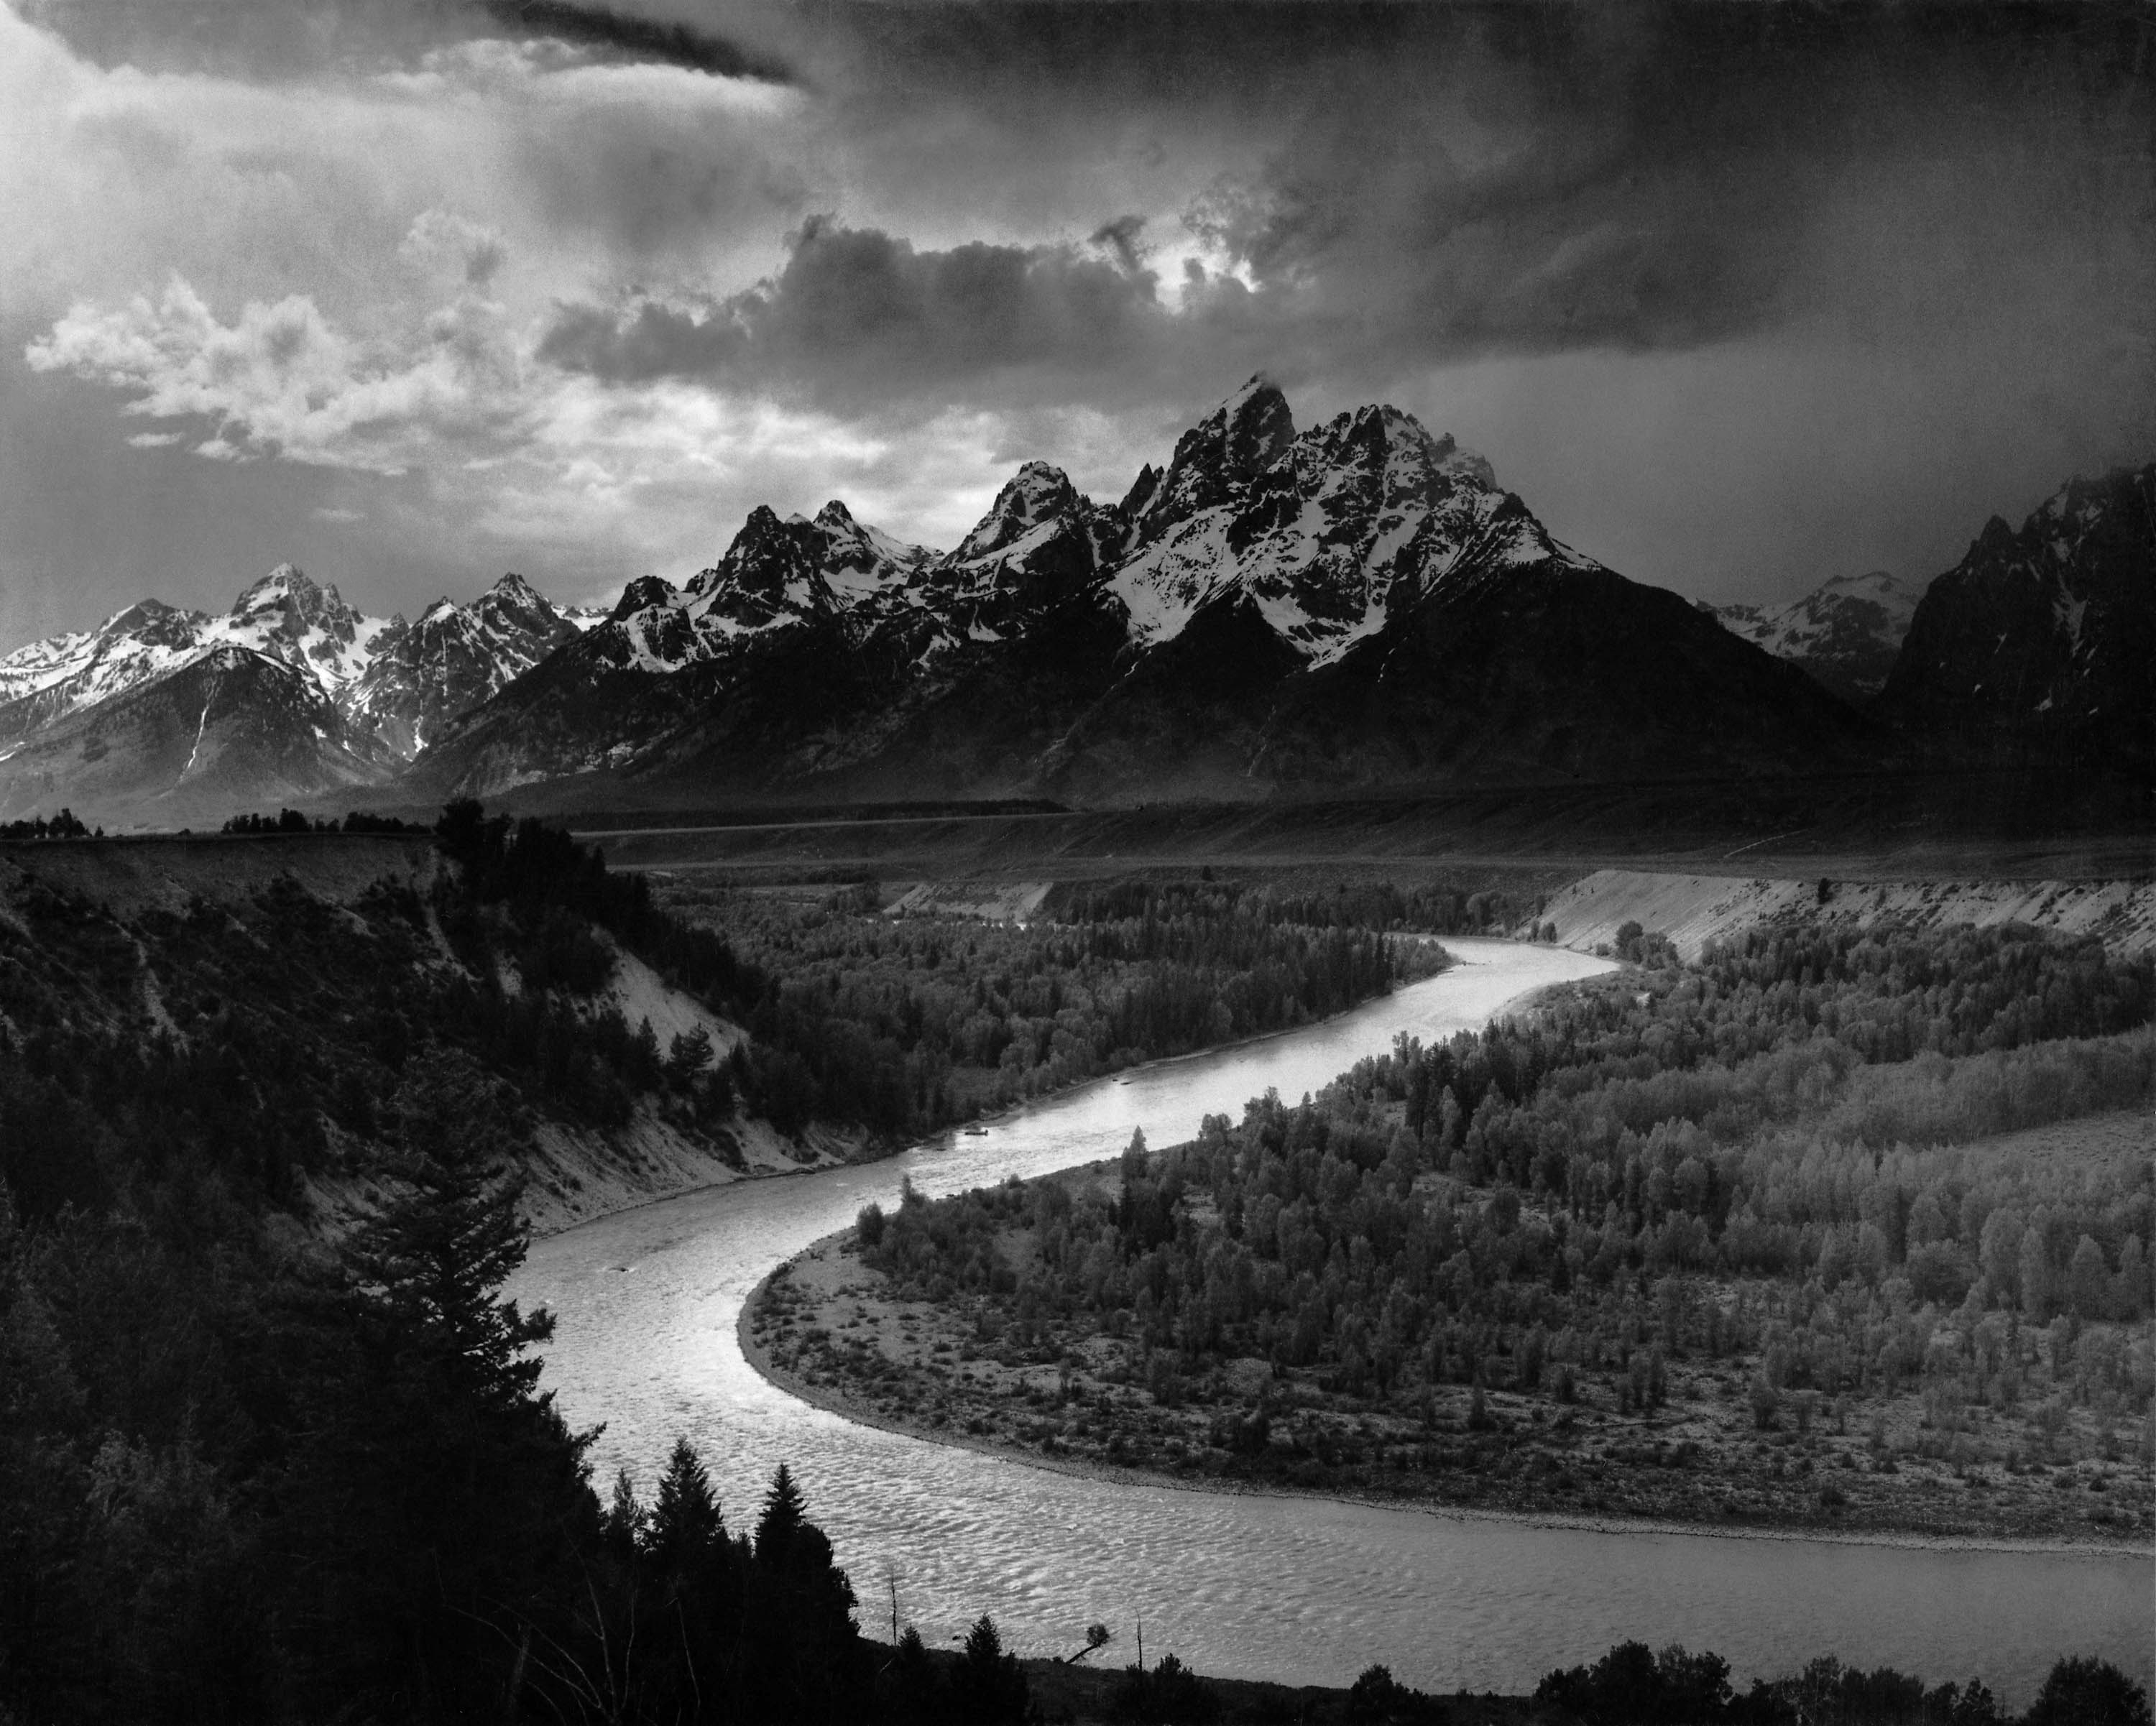
3. Landscape - the subject can be natural or constructed.  Techniques learned from the texture photography should be used to enhance the image.
pph0213_bwl_04.jpg
Chris Clor

 
 Ansel Adams

4. Motion/Movement - the student must find a single subject to convey while the subject is in motion.  Cars, trains, animals, people, etc.  Exposure lengths will be stressed in this lesson.  Either the subject or it's surroundings must be in motion.

Massimiliano Sarno

5. Abstract - this will be the final lesson where the students will take everything that they have learned and put as much of it into a single photograph.  This can be anything from a constructed subject or of a subject close-up focusing on a single element.
Abstract;Abstractions;Bark;Black;Black-and-White;Branch;Brown;Chaos;Curve;Drift-
Byron Jorjorian

Learning objectives:  
  • How to effectively use composition, lighting and contrast to enhance or convey something about the image.
  • How to plan your image
  • How to use these techniques in different art forms
Questions:
  • How can you change the emotion of something or someone through lighting and contrast?
  • How can you abstract a natural subject?

Enduring Ideas:

  • Capturing Emotion
  • Life and Nature
  • Abstraction

Monday, February 8, 2016

Litter, Litter, Everywhere

Painting beautiful scenes of nature and wildlife and then destroying the beauty by littering the landscape with multicolored shipping crates, Mary Iverson is a contemporary painter who has developed a very unique style of art making.  Her pieces are more like messages than they are paintings.  Her work shows massive cargo ships and shipping crates littering the Earth and destroying nature.

She wants to tell the world that mankind is ruining our planet, and that if we don't stop now, this is the environment that we will live in and ultimately leave behind.  This message comes through loud and clear in her paintings.

Overlook

Fleet

She uses perspective and vanishing points to place the objects into the space.  This technique allows the crates and ships to realistically appear to be a part of the landscape.  However, different from typical perspective drawing, she doesn't remove the lines and vanishing points, she does this to emphasize her notion that litter does not go away.

The Project

Influenced by Mary Iverson's work, this project will deal with how mankind is killing the planet.  The students will write a one page paper on why littering is so harmful and why it should be stopped.  They will be expected to research statistics and facts about littering in America.  This paper will be displayed with their work.

As for the artwork, the students will find an image of a landscape that they can draw and paint over.  This image can be a painting or a photograph.  The image will need to be scanned and printed onto a medium size piece of drawing paper.  The students will then use perspective drawing to include into the landscape different objects that are commonly littered.  They will research some of the most common littered objects and make a list of the objects that they choose to include in their drawing.

The image will be drawn over with pencil and then drawn back over again with pen for a darker line and higher contrast.  The students will explore perspective drawing and how to effectively use line and shape to render an object in space.  Once the drawing is complete the students will color over their objects with markers, colored pencils, crayons, or paint.  There will be no restrictions on which material to use for coloring, but the students will be expected to choose only one so that their piece will be consistent.

There will be emphasis on the elements and principles of design as the students work.  They will explore line, shape, color, space, value, and rhythm.

Classroom Example:


Still Life

Still life drawing is where all of the techniques from gesture drawing and contour drawing come together to make a finished work of art.  Still life is drawing from observation except the subject is typically of inanimate objects, such as vases, cloths, clothing, food, etc.  The goal of this style of drawing is to render the subject as realistically as possible, focusing on light and shadow and proportions.

In Practice

In our class we did this same exercise.  However, due to lighting constraints we had to improvise a little.

We started by drawing the outline of our subject with graphite pencils onto inexpensive paper.  Not focusing on detail at this point, the goal was to draw the outline and then trace what we have drawn onto a smaller piece of drawing paper.  Once the outline was drawn it was then drawn over again with a darker utensil, such as a darker pencil or pen.  This was done so that the tracing process would be more efficient.


After tracing onto the drawing paper, flashlights were placed strategically on each of our subjects so that we would each have quality lighting.  A picture was taken of each of our subjects and we were to draw the light and shadow over our lines based on our photographs.


Issues to work on

In the time that we had I didn't complete much of the shading process.  I wasn't focusing on keeping things loose and quick like the techniques learned in the gesture drawings.  Had I paid more attention to using those techniques, I would have gotten much farther with the drawing.  I learned that by being quick and loose you can complete the entirety of the drawing and then go back in and touch up the details and finish the work much faster.

In giving this exercise to students I will have to stress the same issues that I had.  I would encourage them to be loose and quick with the outlining, then go over that with the darker utensil but use that to draw the finished line and omit the inaccurate marks.  The students will be expected to be loose so that they can focus on accuracy later, but it will be stressed that they should not be too loose as this drawing is not timed and speed is not as much of an issue.  They will be expected to use what they learned from the pastel gesture exercise when shading their drawing and keep things simple, then later add more detail and accuracy.

Other Student Examples:


Gesture Drawing

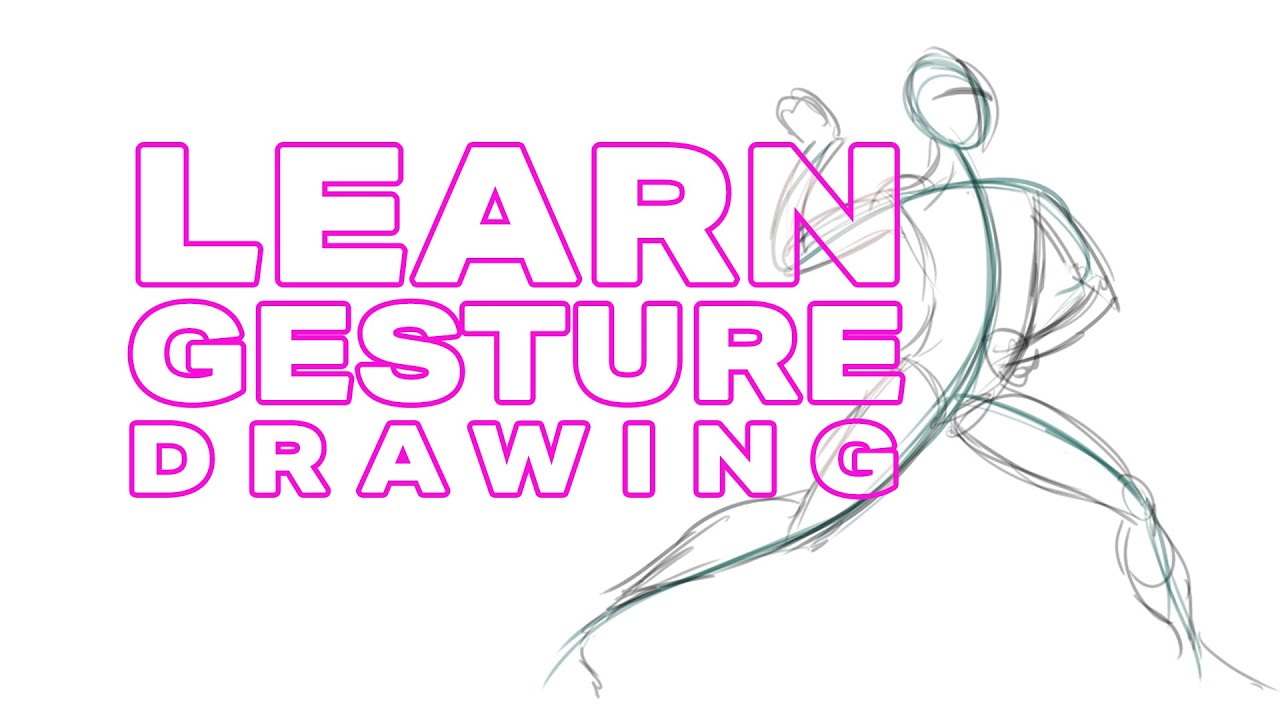
It's time to sit down, relax, and scribble.  Gesture drawing is one of the best things to learn when it comes to drawing from observation.  It teaches you to look at your subject in it's entirety, instead of focusing on the details.

The best way to teach gesture drawing is to draw the human figure within a time limit.  Have a student stand in front of the class and strike a pose.  The rest of the class will have to draw this student in their entirety using only line.  Start them off with a time limit of 30 seconds, then draw another one in 20 seconds, and continue shortening the time limit until you reach 5 seconds.  This will show them that they have to be loose and quick.


The shorter the time limit, the more they will be forced to ignore detail and focus only on the pose of their model.

The Project

After the students have thoroughly explored gesture with graphite and charcoal, the next material should be pastels.  Each student should have 3 different colored pastels, one for each tone; highlights, shadow, and a middle tone.  This exercise will make them focus on the form of the figure but also shapes of light and shadow that fall onto the figure.  This should also be a timed exercise but much longer than the earlier drawings.  Around two to three minutes is best depending on how the students performed earlier.

The goal for the project is to contain the entire figure onto a large piece of paper, roughly 18 x 24.  First gesture the figure with the middle ground just like they were with the earlier drawings.  Once the figure has been established, go in with the the other colors to gesture the shapes of light and shadow.  Stress the importance of keeping things loose and quick.  Accuracy is not very important, but correct placement of light and shadow will be expected, as well as accurate proportions of the figure.

Student Examples:


Professional Examples:


Sunday, January 31, 2016

Perspective Drawing

How to draw in perspective is something every artist should know.  Luckily, it’s very easy to do and can be used in so many ways.  Today, I will be going over a simple way to teach this technique.

Things you will need:  Pencil, Eraser, Paper, and a Ruler or some sort of straight edge.


One Point Perspective

To start, using a straight edge for all of the lines, draw a single horizontal line across a sheet of paper, preferably in landscape format.  This line is called the horizon.  Make a mark in the middle of the line, this will be what is called the vanishing point.  Now, draw several squares on the paper.  They can be anywhere you like, but for learning’s sake, it is best to have 3 squares, one above the horizon, one on the horizon, and one below the horizon.  Now, draw lines between the squares and the vanishing point.  These lines should connect the corners of the squares to the vanishing point, but do not draw lines that will go through the squares, only the corners that have a clear path to the vanishing point.  Once all of the lines have been drawn, for each square draw a vertical line between the lines connecting the square to the vanishing point, and draw a horizontal line between these lines as well.  These lines will complete the illusion of a three dimensional structure.  Now it is time to erase the lines connecting the cubes to the vanishing point.


Two Point Perspective

This is done in very much the same way as one point perspective, but instead of drawing squares, vertical lines are drawn.  Also, two vanishing points are drawn on either side of the horizon line.  Lines are drawn to connect the vertical lines to the vanishing points, 4 connecting lines per vertical line.  Then between the connecting lines, two more vertical lines are drawn, one on each side of the original vertical line.  Two faces of the cube are now complete.  The top and bottom corners will now have connecting lines drawn to the vanishing point, but two connecting lines per cube will have to be drawn to the vanishing point on the opposite side of the original vertical line.  This will complete the top or bottom face of the cube depending on which side of the horizon the cube is on.


Three and Four Point Perspective

These are more advance forms of perspective drawing.  I will not cover how to do these techniques, but I will show a few examples.

Three Point Perspective


Four Point Perspective


In The Classroom

There are so many ways to incorporate perspective drawing into an art lesson, but for my students I will likely have them draw a city in one or two point perspective.  They will be given the option to decide whether to use one point or two point.  I will show them how to draw details such as windows on buildings and houses, making sure to stress that everything has to connect to the vanishing points.  They will be asked to imagine that they are the mayor of a city, and that they are in charge of how the city will be built.  This can also be made into a large scale group project, he students could each draw their own building into a city of their design.  This lesson could also include teachings about city planning and and construction.

Sunday, January 24, 2016

Contour Drawing

This is a fun way to loosen up the class.  Contour drawing is a great project to start with early in the school year.  The students will not be embarrassed or discouraged by another student being better than they are, because all of the drawings will look very different.  What you will need is large paper, markers (mistakes will be made, and they should not be erased), and a few things to sit on the tables for still life drawings.

The students should first draw their hand.  Their hand can be posed in any way that they choose, but they need to keep their hand away from their paper so that they can't see what their drawing hand is doing, this is called Blind Contour Drawing.  Also, they can't lift their marker from the paper at any time while drawing and they cannot look at the paper at any time while drawing.  They will need to draw the outline of their hand and also include small details such as wrinkles on the knuckles and palm.

Another way of doing contour drawing is called Modified Contour Drawing.  This is done in the same way as Blind Contour but the students will be allowed to look at their paper ONLY to lift and place their marker in a new position.  They still cannot look at the paper while drawing and their drawing subject should still be away from the paper so that they can't see what their drawing hand is doing.

Place a few random objects on the tables for still life subjects.  They can be anything from shoes to an old typewriter.  The objects should be something that is in the round, nothing like a book, but a stack of books could work if they are stacked staggeringly.  Once they have drawn their hands a few times they should move on to the still life objects.  Each student should have their own view of the objects so that each drawing is different.

Here are a few examples:

Mixture of Blind and Modified

Mixture of Blind and Modified

Modified

Modified

Modified

Modified

Modified

The First Day

It's your first day of teaching, and the students are coming down the hallway, what do you do?!  Keep calm and take a few things into consideration.  You'll need to be welcoming and understanding of your students.  There will be a lot of kids who each come from a different background, you need to try to learn where each of your students comes from.  Sure, you may not learn everything about your students on the first day, but you should try to learn as much as possible.


1)  Try a few basic art lessons where the students draw or paint something that interests them.
  • Have them paint or draw a self portrait of themselves doing their dream job.
  • Paint or draw the happiest moment of their life
  • These works could then be shown by each student and explained to the class, so that not only you learn something about each student, but so does the class.
  • Encourage the students to make comments and ask questions about each student's piece.
2)  Tell the students about yourself.
  • Tell them why you love art and what you want your students to get out of the class.
  • Explain some of the exciting projects that will be coming later in the school year.
  • Do the projects mentioned above before the class period so that you too have something to show and talk about.
  • Encourage the students to make comments about your work.  You should make comments about their work as well.  Good comments of course!
3)  Keep calm.
  • The students will know immediately if you are nervous.  The best thing to do is just relax and be yourself, but also be relatable to the students so that they too can feel comfortable in the classroom.
  • Show up well fed and well rested.  Prepare at least a week in advance and eat good food and get plenty of sleep.